5 Super simple DIY Décor ideas
Creative ideas to stretch your budget and keep you busy at home.
1. Rustic Candle Holders
With this trick, you can make an existing candle holder more exciting, or create a reusable candle holder from a normal glass tumbler. Make sure you have some extra tacky double-sided clear tape, or if you’re a regular creator you could also use a glue gun. Get some decent twigs from the garden (no living wood), and stick them vertically around the outside of the glass using the tape or glue. Make sure the twigs point outwards and have no bits sticking out over the flame, it’s probably best that they don’t rise too high above the rim of the glass too. Considering how little you need to create these, you’ll be so pleased with the results.
Click HERE to watch how it's done in a quick video.
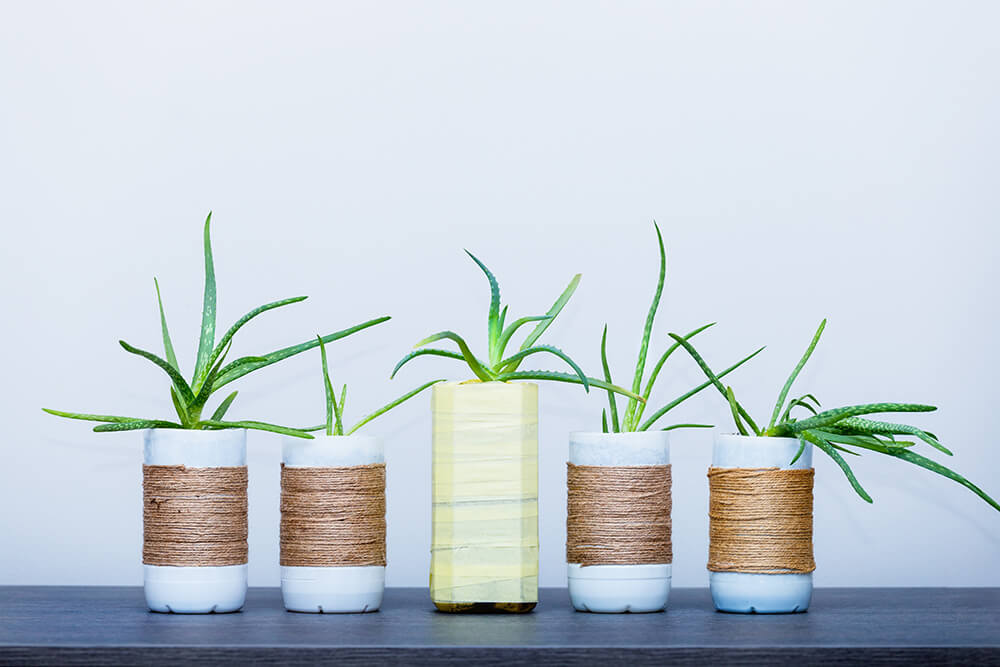
2. Rope in some Pot Plants
Time to upcycle some tin cans. To prep, wash the empty cans out properly and remove any labels. For your safety, it’s also best to make sure there are no sharp edges. Punch two or three holes in the bottom if you want excess water to drain out. As with the candle holders above, you can use some extra tacky double-sided clear tape or a glue gun. Try to find some natural-looking, thin rope for the best effect. If you’re using tape, apply it around the entirety of the can to ensure the rope sticks down properly. Then, simply wind the rope tightly around the can over the sticky tape, or if you’re using a glue gun, glue it down as you go. Using big and small cans will create levels when you group your new pot plants together. When planting, use some fresh potting soil and make sure your plant has enough room in the pot. Whether you prefer succulents or flowers, this is a great way to bring some greenery into your home!
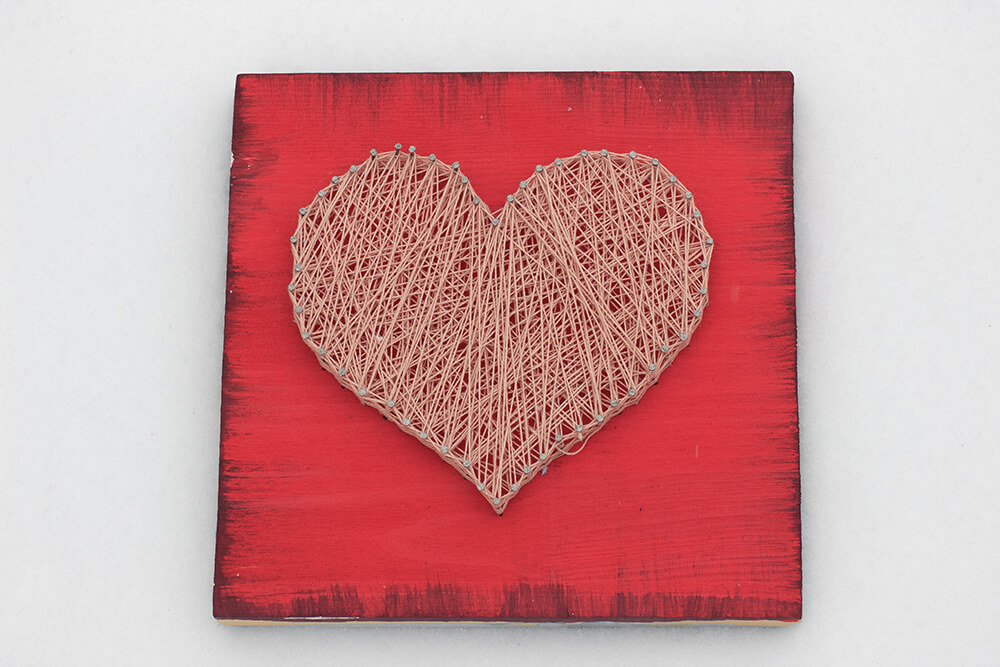
3. String Art
All you need for this one is some nails, a roll of coloured string, and a flat piece of wood that’s big enough for your creativity. Sand down the wood and polish it – you’re going to be working with it quite a bit so don’t risk any splinters! Start by planning your design with a stencil and a pencil, then hammer in the nails at about 2cm intervals. Remember, the more ambitious your design, the more difficult it will be, so maybe keep it simple to start with. Once you have your outline of nails, it’s time to start stringing it all together – use coloured string to give your design more impact. You can be as creative as you want by making a pattern, or just go wild and relish in the results. Either way, you’ll have a unique piece of art to add some character to a bare wall. There are endless variations to this simple craft so once you have the basics down, watch some videos to find inspiration for your next piece.
Watch THIS VIDEO to find some inspiration.
4. Framed Forests
If you have some old frames lying around, this is perfect for you! First, you need to remove any glass and backings and coat them with some chalk paint. If you want a more distressed look, use a bit of sandpaper to expose some of the wood. Then grab some decent sticks or twigs from the garden (again, no living wood), trim them down to fit snugly behind the frame, and start creating your forest. Work on the placement before you start glueing them down. There are so many different ways to create your forest, so be creative and let your personality shine through. You could even use some cut-outs of animals or other trinkets to make it unique to you.
Watch the method in action HERE in a short video.
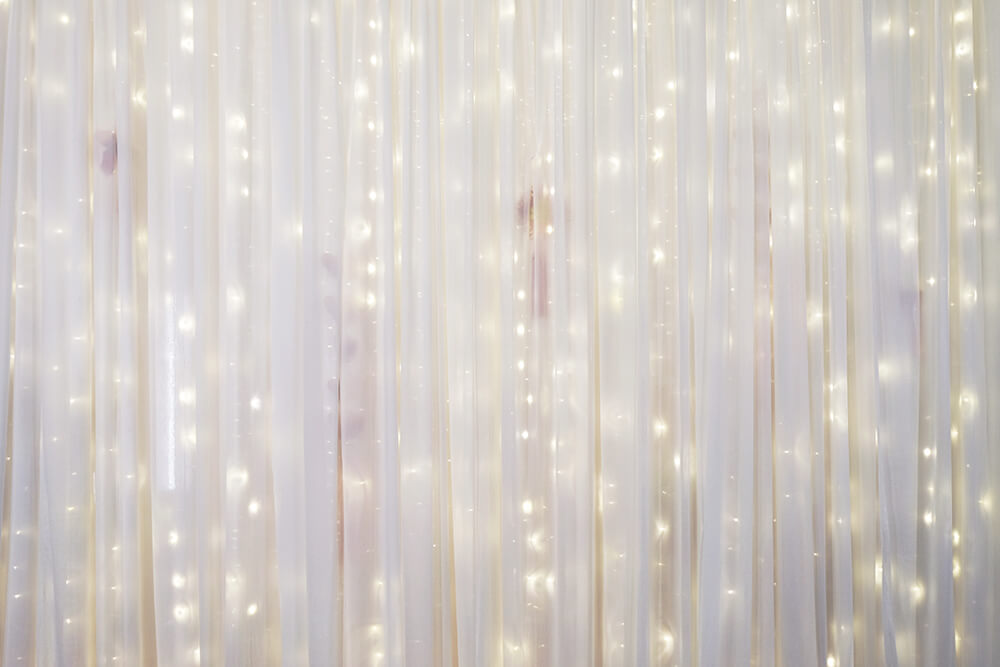
5. Twinkle, Twinkle Little Lights
Turn a plain wall into a magical galaxy with just a couple wall hooks, some screw-in hooks, a length of wood (approx. 4cm x 8cm x 1.5m), some fairy lights and a sheer curtain with eyelets. The wood will be exposed, so it’s a good idea to paint it a colour that suits your theme but doesn’t stand out too much. Next, attach 2 wall hooks to the back, flip it over and attach the screw-in hooks at regular intervals depending on your length of fairy lights, and the number of eyelets in your curtain. It’s a good idea to plan this out on the floor first to ensure that you get the right drop and distance between the lights. Once all the hooks are in place, hang it up on the wall and start draping your fairy lights as desired. The final step is to hang the curtain up over the lights and bask in the enchantment of your creation. This minimum effort installation will liven up a room and create a lovely backdrop for selfies or zoom meetings.
Get some helpful tips in a video HERE.
You don’t need a big budget to freshen up your home décor, and the inclusion of some DIY pieces adds a personal touch that you can’t find in a store. Get creative, have fun and most importantly, stay safe.